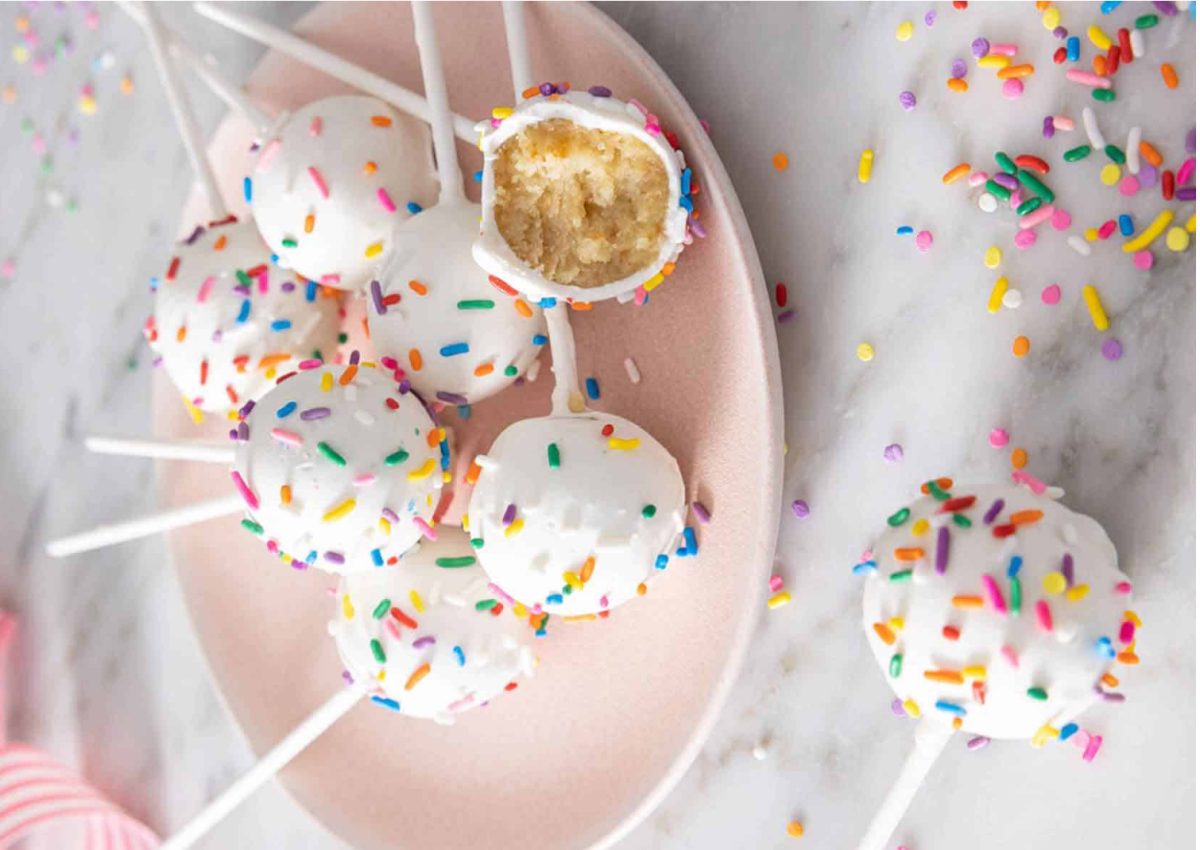
How to Make Cake Pops
Have you ever had a Starbucks cake pop? These are an iconic and trending dessert to buy at Starbucks. However, most parents and customers are unwilling to pay $3.25 per cake pop. This is outrageous! Over time this money will start to add up—but I have a solution for you! Make your own cake pops and this will save your pockets! This simple and delicious recipe can help you. With 8 easy steps, you can have your own cake pops that will last for weeks! By making your own, you will have so many more at a cheaper cost, and they will taste better than ever!!! With this fun bite-sized treat, you’ll be delighted!
Ingredients
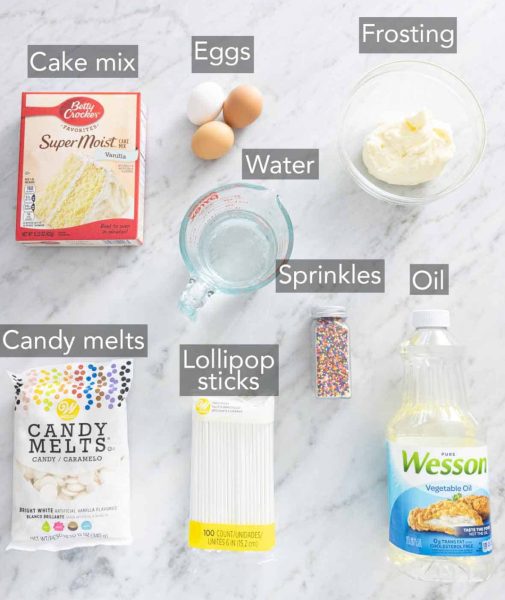
- Cake mix: any flavor mix will work.
- Frosting: any flavor, homemade or canned are both great options.
- Candy melts/chocolate chips: any flavor or color will work— this makes the cake pops shiny and taste delicious.
- Sprinkles: to add some color and fun to your cake pops.
- Lollipop sticks
- Water
- Eggs
- Oil
Equipment
- Large mixing bowl
- Baking tray
- Parchment paper
- Microwave
- Oven
- Bowls
- Optional: styrofoam or cake pop stand
Tips:
- Get styrofoam or cardboard and poke holes in them. Then stick the finished cake pops in the holes, so they can dry. This will help your cake pops stay upright and the frosting to stay smooth.
- Add some food coloring to your chocolate or candy melts to make your pops more colorful or to match the theme of your event.
- If your chocolate seems too thick to dip your pops, thin it out with a little vegetable oil or water.
- After your cake pops are done and decorated, store them in a sealed container in the refrigerator for up to a week or freeze the cake balls for up to 2 months. Let them thaw at room temperature before eating.
- This dessert may take a few tries to perfect, but don’t give up— follow the instructions and use trial and error to make it work.
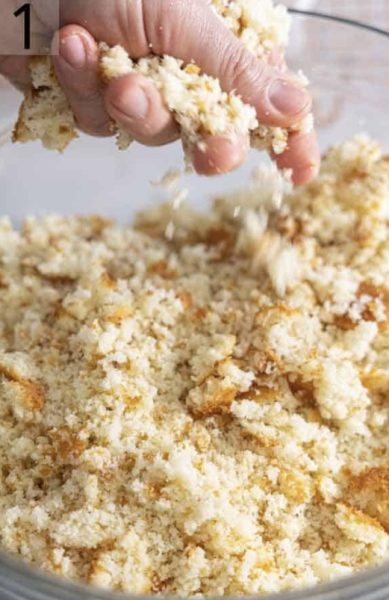
1. Your first step is to bake the cake. Any basic cake mix will do. Popular flavors include vanilla, chocolate, birthday cake, or strawberry; all delicious options. Follow the instructions on the cake box. When cooked, let the cake cool completely, then crumble the cake into a large bowl. Use your hands to get the cake into fine pieces, as this will allow the cake balls to hold together better.
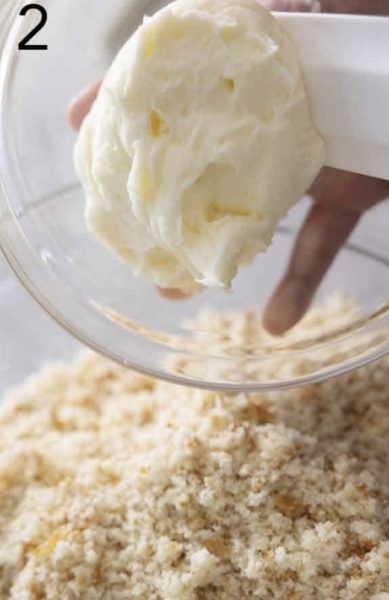
2. In the next step you will need a can of frosting. I recommend vanilla or chocolate depending on your flavor cake. Start by adding about half the can and add more as needed. This will help the cake get doughy and able to form the cake balls.
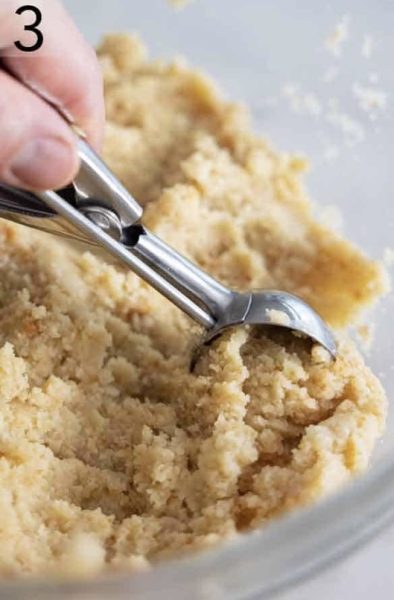
3. Next, If you want each ball to have the same exact amount of dough you can use a small scooper to form the balls. This may be easier than eyeballing it.
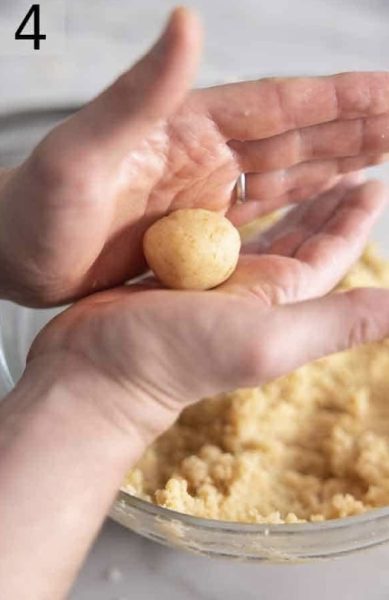
4. Then, you will take the dough and start to roll small-sized balls. This will be slightly smaller than a golf ball. Not too big or then it will fall off the stick.
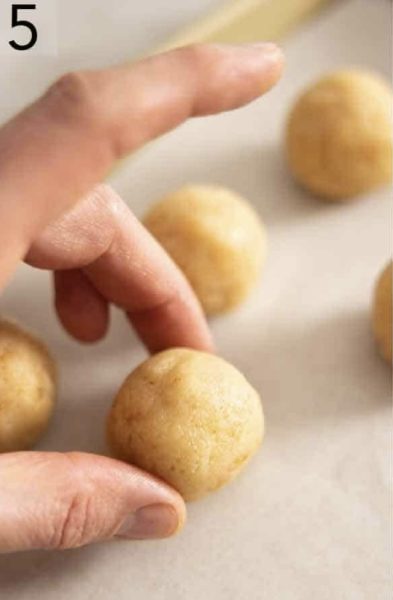
5. After they are rolled, place them on a baking pan lined with parchment paper, then place the pan in the freezer for around 30 minutes. This will help keep the cake balls intact when dipping in the chocolate.
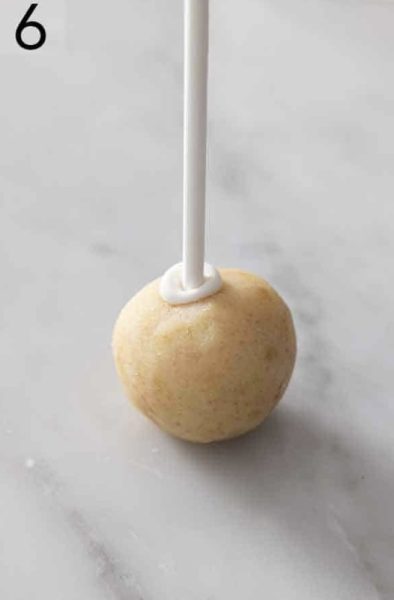
6. After, the cake balls are chilled, start to melt the chocolate by following the melting instructions on the packaging. First, you must dip the lollipop stick’s tip in the melted chocolate. Then insert the stick in the cake ball until it is halfway through. This will help the cake stay on the stick. Look at the picture for an example of how the cake pop should look so far. After all sticks are in the pops, you may put the tray back in the freezer for 10 mins.
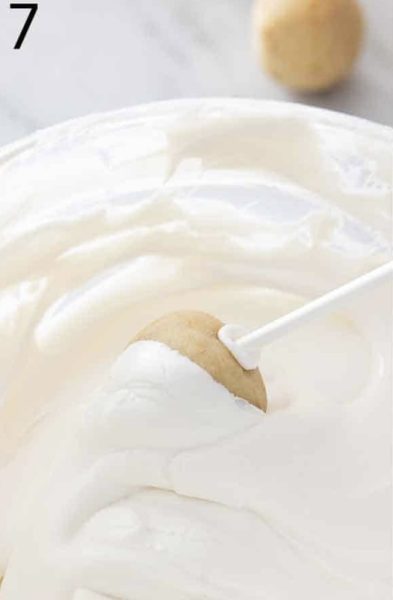
7. Next, you will carefully dip the cake ball in the melted chocolate. Start with the side and roll the rest of the ball in. Do not just dip the cake ball face first or it will probably fall off the stick. Make sure the whole pop is covered and then gently tap the cake pop stick to get any excess chocolate off. Then, stick the pops in a styrofoam block if you have or lay them down on a pan.
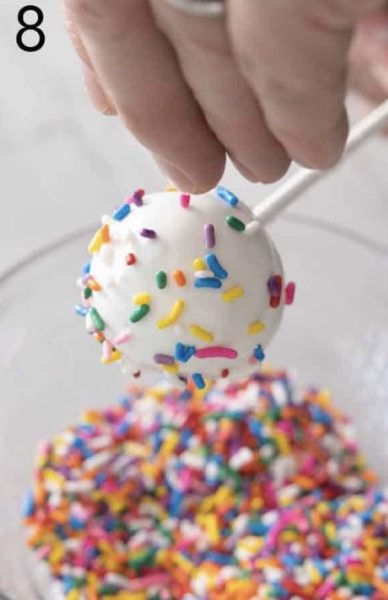
Lastly, decorate! You can use any edible decorations such as sprinkles or edible glitter. Make sure to decorate while the chocolate is still wet. Then allow them to dry. Place them into the fridge to speed up the process. Finally, they are ready to eat or give as gifts. Enjoy!


