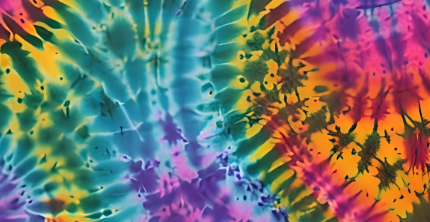
Tie-dye has many different techniques and styles, and in turn with all the unique, fun ways to tie-dye there are many many ways to do it wrong. This article will detail the best and the worst of tie-dye and what you need to be the most successful.
Equipment:
Having the right equipment is imperative to your success. If you don’t have the right things, your tie-dye could turn out generic, boring, or even disastrous. To be successful and create an interesting, dynamic design you will need…
- Tie-dye kit. These kits come in many shapes and sizes, a generic one with your desired colors can be found online or in stores such as Target or Walmart
- Rubber bands. Some will come in your kit but they are usually weak and often let colors bleed through. A pack of stronger rubber bands will help you in the long run
- Gloves. Gloves come with the kit as well, but are often huge and make it exceedingly difficult to work with the bottles and your shirt, they also do not keep all the dye out so you typically still will wind up with stained hands. Investing in medical/latex gloves that fit your hands snugly will make it easier to work and prevent dye from staining your hands.
- Soda ash. If you want a beautiful, vibrant shirt soaking your shirt in a soda ash water mixture before dying will ensure your colors stay vibrant.
- Shirts. You can buy new white, or very light colored shirts or use old ones that you want to give a new look.
- Disposable tablecloth. This will save whatever surface you are working on from the dye. Tie-dye gets extremely messy so having an easily disposable surface to work on is a lifesaver.
- Plastic bags. After the shirt is colored you will put it in a sealed plastic bag to settle for a few hours. For smaller items like t-shirts, socks and headbands a gallon ziplock works fine but old shopping bags can be useful too.
- String(Optional). If you are attempting to do a more complicated design, kitchen twine can be useful to tie up portions of the shirt.
Techniques
There are many fun, interesting, and creative ways to tie-dye a shirt but these are a few of my favorites and how to do them.
The traditional swirl is a classic tie-dye design and so unbelievably easy to make! First, you lay your wet shirt out flat on a clean surface. Then you pinch a small portion in the midland and simply twist until the whole shirt, save for the sleeves, is twisted up. Tuck the sleeves under or into the shirt and rubber band the shirt securely so nothing moves or comes undone. Now it is time to add dye. Pick your colors, you can do as many as your heart desires but be mindful that the colors can bleed so try not to put colors that will overtake others besides light colors. Add your colors however you like and let it sit overnight. The next day undo the bands and reveal the beautiful swirl design!
The crumple design is the most basic and simple design but it still yields a unique effect. Crumple up your shirt haphazardly and secure it with the rubber bands. Add the dye randomly, but try to make sure the colors are cohesive. This design gives an interesting and very colorful look.
The bullseye design is also a classic. It’s extremely simple and can be super fun-looking. Roll up your shirt and rubber band it into three sections. Make sure the rubber bands are super tight because for this design you need the cloth underneath the fabric to stay white. Apply the dye to each section separately, making sure to use different colors. After it is done you should hopefully have a beautiful bullseye design.
That’s it for the guide to tie dye! Make sure you have fun while doing your dying because that is the most important step!


